

Webhooks
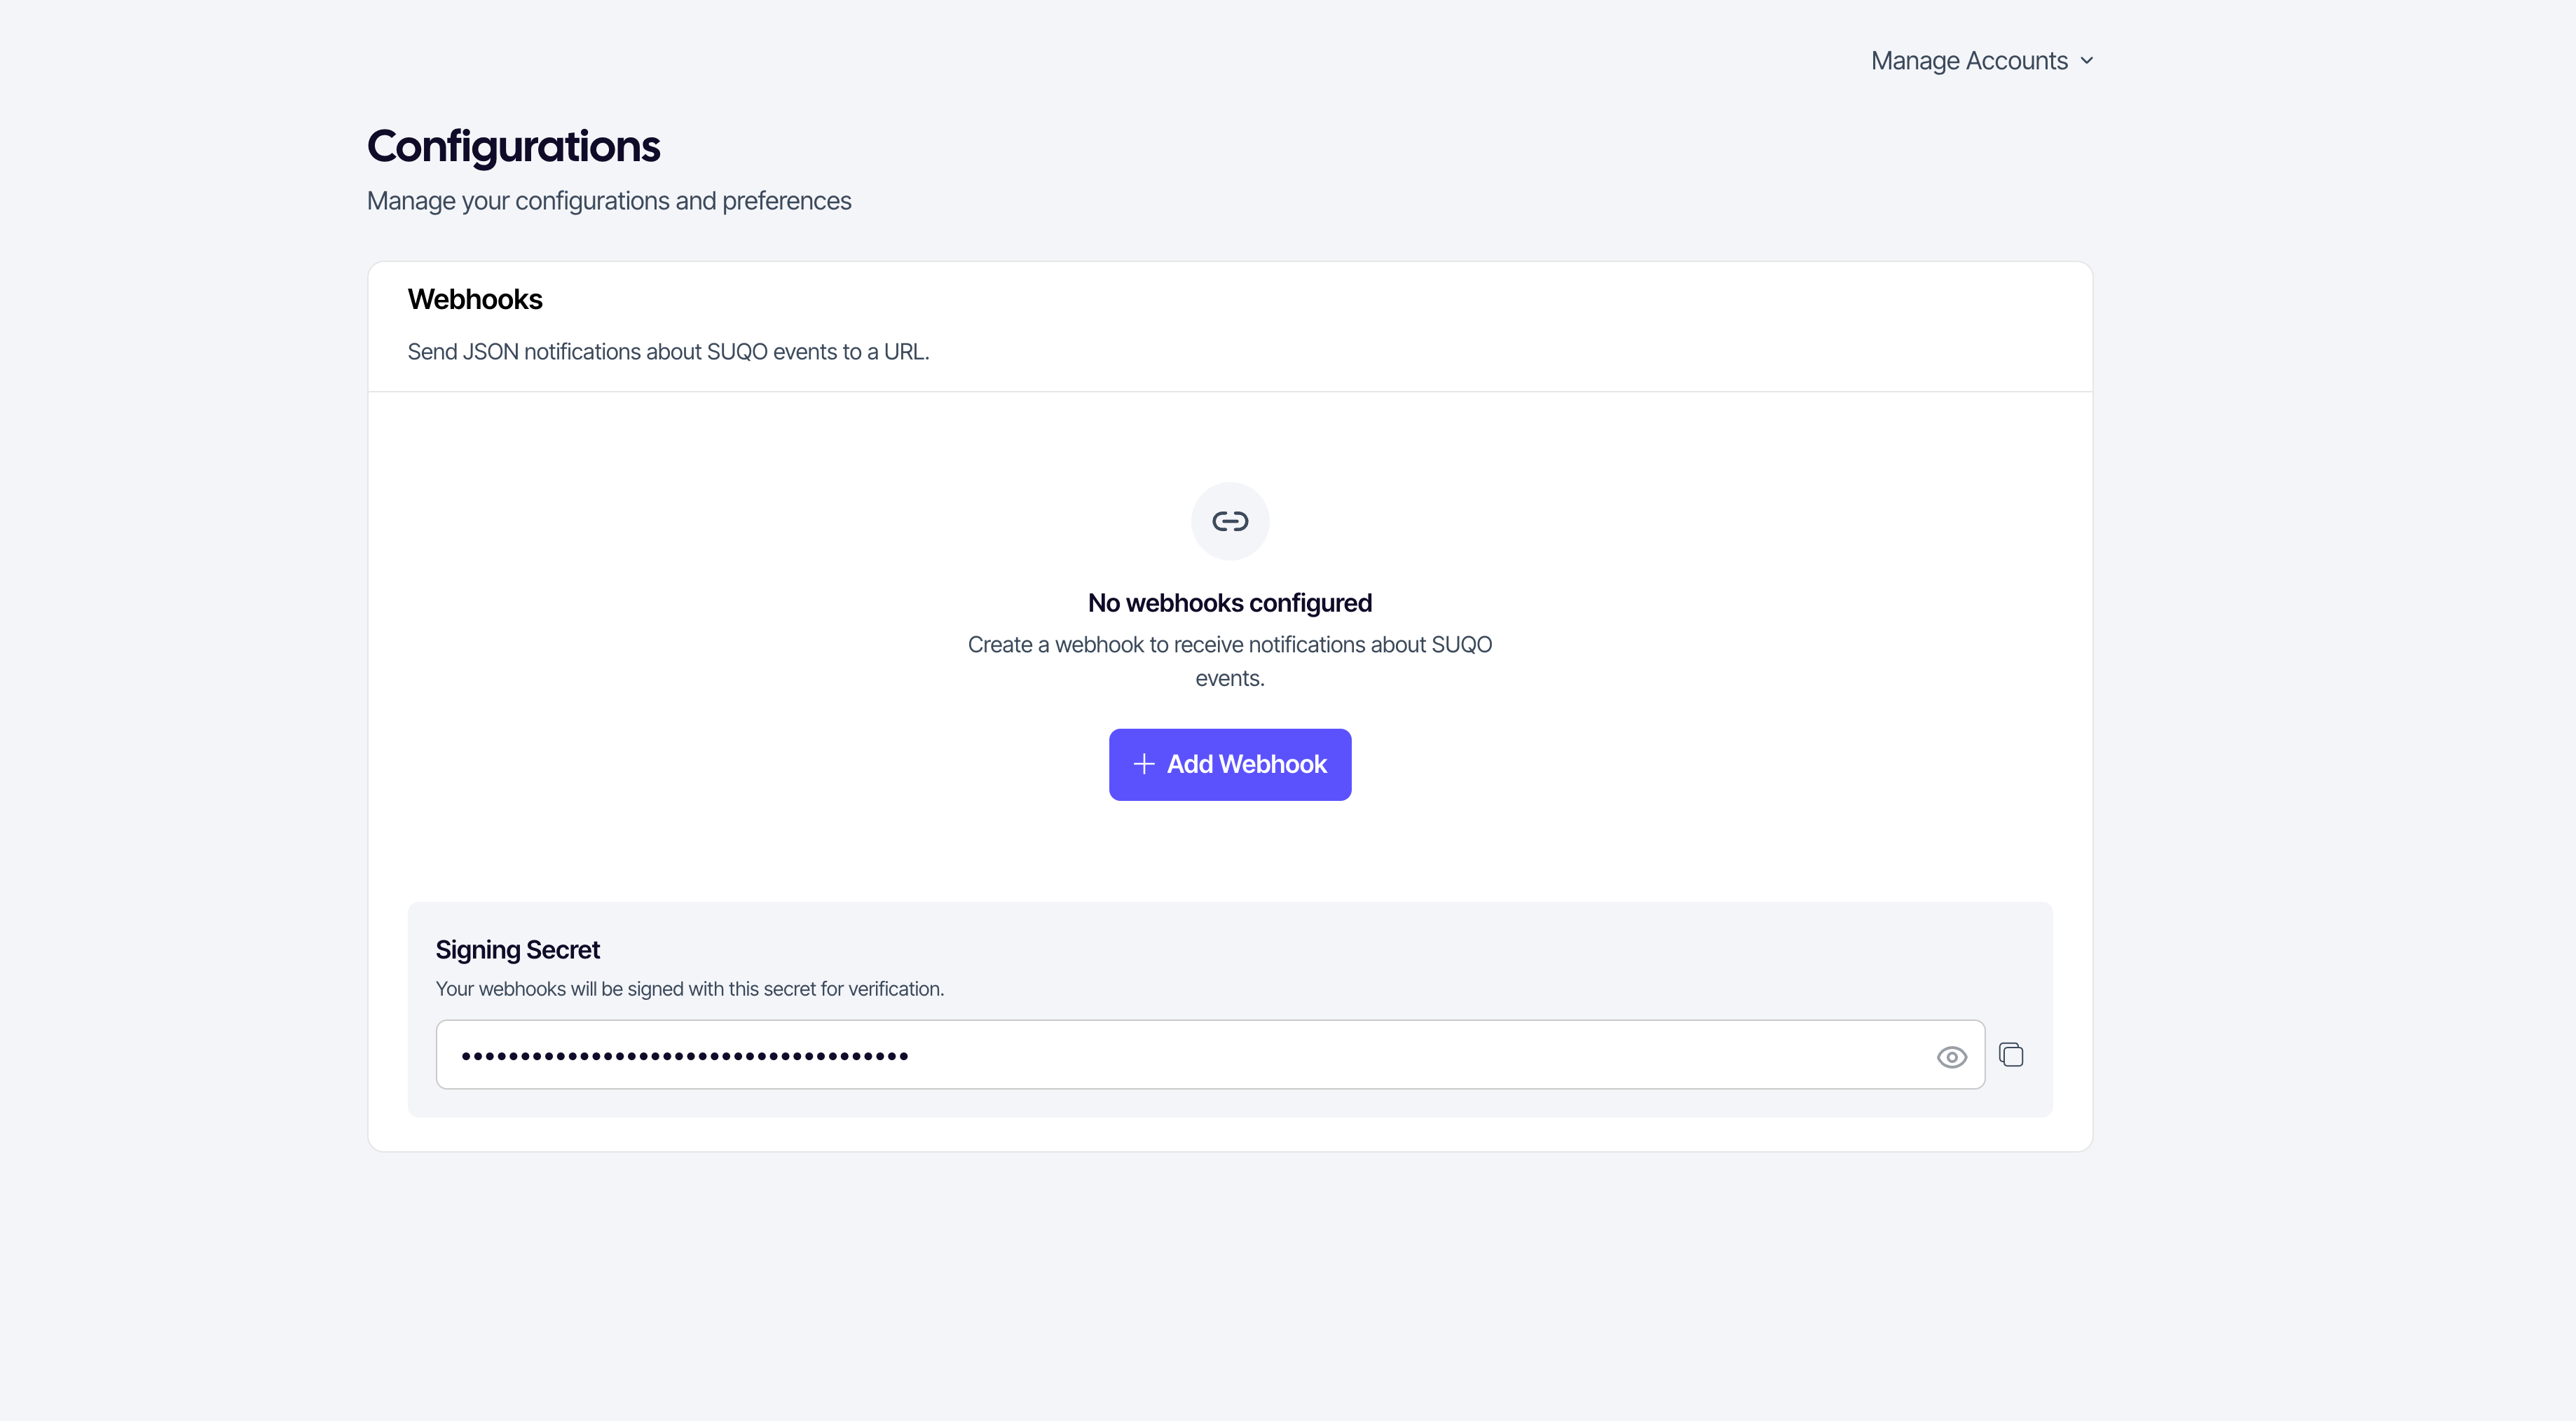
Webhooks send JSON notifications about SUQO events to a URL you control. Instead of polling SUQO to ask "did anything happen?", your own software gets a message the moment an event fires — useful for updating your systems, triggering emails, or reconciling your records automatically.
When to use webhooks
Reach for webhooks when another system needs to react to what happens on SUQO — for example, marking an order as paid in your own database, alerting your team on a failed checkout, or kicking off a fulfilment step. If you just want to see events, the dashboard already shows them; webhooks are for automating a reaction in code.
Available events
SUQO can notify you about these events. You can register one webhook per event; once every event has a webhook, the Add Webhook button is hidden.
| Event | Fires when |
|---|---|
Checkout Completed checkout.succeeded | A customer successfully completes checkout and payment goes through. |
Checkout Failed checkout.failed | A checkout attempt fails — for example, the payment is declined or abandoned. |
Subscription Status Changed subscription.status_changed | A subscription's status changes — for example, it becomes active, is cancelled, or expires. The notification names both the old and the new status. |
How payment confirmation reaches you
When a customer pays through SUQO checkout, SUQO POSTs a JSON notification to your webhook endpoint with the outcome — so you never have to poll. Both cases are covered:
| Outcome | Event | What it means |
|---|---|---|
| Payment succeeded | checkout.succeeded | Payment went through and the subscription is now active. Use this to mark the order paid, provision access, send your own confirmation, etc. |
| Payment failed | checkout.failed | The checkout was declined or abandoned. Use this to flag the attempt, notify the customer, or retry. |
The notification carries the affected subscription so you can match it to your own records. Later lifecycle changes (renewal, cancellation, expiry) arrive as subscription.status_changed. Register a webhook for each outcome you care about, and always verify the signature before trusting the payload.
Adding a webhook
- Open Configuration → Webhooks.
- Click Add Webhook.
- Choose the Event you want to be notified about.
- Enter your Endpoint URL — the address SUQO should POST the notification to. It must start with
https://(plainhttp://is rejected). - Save. The new webhook appears in the list with the event name, the URL, and a JSON badge showing the payload format.
Editing a webhook
Open the … menu on a webhook row and choose Edit. You can update the Endpoint URL, but the event is locked — to point a different event somewhere, delete this webhook and add a new one.
Testing a webhook
From the … menu, choose Send Test. SUQO sends a sample event to your endpoint so you can confirm your server receives and parses it correctly before real events start arriving.
Deleting a webhook
From the … menu, choose Delete and confirm. This can't be undone — once deleted, you'll no longer receive notifications for that event until you add the webhook again.
The signing secret
Every webhook you receive is signed with a signing secret (it looks like whsec_…). It's shown in its own card on the Webhooks page with a copy button. Your webhooks will be signed with this secret so your server can verify that a request genuinely came from SUQO and wasn't forged.
Copy the secret into your server's configuration and use it to validate the signature on each incoming request. There's no rotate/regenerate button in the dashboard — contact support if the secret is ever exposed.
For how the signature is computed, and copy-paste verification code, see Verifying the signature in the API reference.